Portrait Lighting Explorer: Every Classic Setup, Diagrammed
Pick the light you actually have — a window, one lamp, or a flash — and get a real setup diagram for every classic portrait lighting pattern, with the exact angle, a no-gear home version and what it flatters.
Instant · runs in your browser
Find your portrait lighting setup
1. What light do you have?
2. What mood do you want?
10 lighting setups to explore
Dramatic
Rembrandt Lighting · the painter’s classic
One light at 45°, high enough that the nose shadow meets the cheek shadow — leaving the signature small triangle of light on the shadow-side cheek. Named after Rembrandt because it is how he painted faces.
Set it up: Place your light 45° to one side and raise it until the shadow of the nose just touches the shadow on the cheek. Look for a lit triangle no wider than the eye on the darker cheek, with a catchlight still visible in both eyes.
With just a window: Stand at a tall window with the light hitting you from 45°, then turn your face slightly away from the glass until the triangle appears on your darker cheek. North-facing or curtained windows work best.
Flatters: Adds depth and gravitas to almost every face — the go-to for painterly, character-rich portraits of men and older subjects.
Avoid: Don’t let the triangle disappear entirely: if the whole cheek goes dark you’ve drifted into split lighting, and if the shadows join under the nose the light is too high.
Glamour
Butterfly Lighting · Paramount lighting
The old-Hollywood glamour pattern: one light straight in front of the face and high above the lens, throwing a small butterfly-shaped shadow directly under the nose.
Set it up: Put the light directly behind and above your camera, aimed down at about 30–45°. Check for the symmetrical shadow just under the nose — if it touches the lip, lower the light. A reflector at the subject’s chest softens the chin shadow.
With just a window: True butterfly light needs the light above the lens, which a wall window can’t do — use a lamp raised on a shelf or stand instead, or step outside at midday in open shade.
Flatters: Sculpts cheekbones beautifully — the classic choice for beauty, glamour and 1940s-Hollywood-style portraits.
Avoid: Skip it for deep-set eyes (the sockets go dark) and round faces it can flatten; loop lighting is the safer neighbour.
Classic
Loop Lighting · the everyday flatterer
The most-used portrait pattern in the world: the light sits about 30–40° to one side and slightly above the eyes, drawing a small loop of nose shadow that points down toward the corner of the mouth without touching the cheek shadow.
Set it up: Start with the light at 35° and just above eye level, then watch the nose shadow: you want a short loop angling toward the mouth corner, never connecting with the cheek. Small moves of the light make big changes — adjust in inches, not feet.
With just a window: Sit at a 35–40° angle to any decent-sized window with your near shoulder toward the glass. Scoot closer for softer light, further for more contrast.
Flatters: Nearly everyone — it adds gentle shape without strong shadows, which is why school, family and business portraits all default to it.
Avoid: Don’t raise the light so far that the loop stretches into the cheek shadow — that’s the drift into Rembrandt territory, which is moodier than most family photos want.
Dramatic
Split Lighting · half light, half shadow
One light at a full 90° to the face splits it into a lit half and a shadow half — the moodiest of the classic patterns, straight out of film noir.
Set it up: Place the light directly to one side of the face at eye level. The line between light and shadow should run straight down the middle of the forehead, nose and chin. Keep a catchlight in the shadow-side eye or it reads lifeless.
With just a window: Stand with your shoulder touching the wall beside a window so the light rakes across your face from exactly 90°. A dim room behind you deepens the effect.
Flatters: Strong jawlines, musicians, athletes, black-and-white portraits — anywhere you want intensity over prettiness.
Avoid: Rarely the pick for kids or soft family portraits, and it doubles the visibility of skin texture on the lit side.
Classic
Broad Lighting · lit side toward camera
Not a new light position — a head turn. The face angles away from the light so the side toward the camera is the brightly lit one, making the face appear fuller and more open.
Set it up: Set up a 45° light as for loop or Rembrandt, then turn the subject’s face away from the light until the camera mostly sees the lit cheek. The shadow side slims to a strip along the far edge of the face.
With just a window: Sit angled so the window lights the cheek facing your camera — the far cheek, away from the glass, falls into shadow.
Flatters: Narrow or thin faces that want filling out, and airy, friendly, high-energy portraits.
Avoid: The widening effect is real — if the goal is a slimmer look, turn the face the other way and use short lighting instead.
Dramatic
Short Lighting · shadow side toward camera
The mirror of broad lighting: the face turns toward the light, so the camera sees mostly the shadow side. The face narrows, cheekbones deepen, and the portrait instantly looks more sculpted.
Set it up: From the same 45° light, turn the subject’s face toward the light source until the camera-side cheek falls into soft shadow. Meter for the lit side of the face and let the near side stay darker.
With just a window: Face the window and have the camera shoot your darker, room-side cheek. It is the most flattering window-light recipe there is.
Flatters: Almost everyone — it slims round faces, adds cheekbone definition and gives everyday portraits a painterly depth.
Avoid: Very deep shadows can hide the far eye entirely; a white wall or reflector opposite the window keeps a hint of detail.
Glamour
Clamshell Lighting · the beauty setup
A butterfly light plus a reflector (or second, weaker light) just below the face. The bottom bounce erases the nose and chin shadows entirely, leaving even, shadowless beauty light with two catchlights.
Set it up: Set the main light in front and above at 45° down, then hold a white reflector flat at chest height angled up. Move the reflector until the under-nose shadow melts away. Subject leans slightly into the “shell”.
With just a window: Needs a light you can raise — with only a window, fake it by holding a white pillow, foam board or even an open book under your chin to bounce light up.
Flatters: Beauty, makeup and glamour portraits — the smoothest, most even light a face can get.
Avoid: It’s deliberately flat: if you want shape, depth or drama, this is the wrong shell — reach for loop or Rembrandt.
Editorial
Rim / Back Lighting · the halo outline
The light moves behind the subject and traces a bright rim along the hair and shoulders, separating them from a dark background — the outline you see on movie posters.
Set it up: Place the light 130–150° around, behind and above the subject, aimed at the back of their head, and flag it so it can’t flare into the lens. Expose for the rim and let the front of the face go dark — or add a soft second light from the front.
With just a window: Stand with your back to a bright window and expose for the glow on your hair — a silhouette-with-a-halo look. Best as a creative extra, not the whole portrait.
Flatters: Profiles, dramatic hair, athletes — and any portrait that needs to pop off a dark background.
Avoid: On its own it leaves the face unlit; treat it as a seasoning light unless a silhouette is exactly what you want.
Natural
Soft Window Light · the no-gear classic
The pattern painters used for centuries before electricity: a big window at an angle acts as a giant softbox, wrapping gentle directional light across the face with soft-edged shadows.
Set it up: Pick the biggest window in the house out of direct sun, place the subject at about 40° to it and one or two steps back, and turn their face until the shadows look gentle. A sheer curtain softens harsh sun instantly.
With just a window: This IS the window recipe — no translation needed. Morning or overcast light is the most forgiving; avoid hard midday beams.
Flatters: Everyone, at every age — it is the default for newborns, family photos and any portrait meant to feel warm and honest.
Avoid: Watch for a bright room lamp behind the subject fighting the window’s direction; one light source should clearly win.
Editorial
Three-Point Lighting · key, fill & rim together
The full studio recipe: a key light shapes the face (usually as loop or Rembrandt), a weaker fill near the camera lifts the shadows, and a rim light from behind separates subject from background.
Set it up: Build it one light at a time: set the key at 40° until the face looks right, add fill at roughly half power beside the camera until shadows hold detail, then add the rim behind and above until a thin outline appears on hair and shoulders.
With just a window: A one-window version exists: window as key, white wall or foam board as fill, and a doorway or lamp behind for the rim.
Flatters: Formal portraits, video calls and headshots — it is the standard because it makes almost anyone look polished.
Avoid: Don’t let the fill match the key’s power — even lighting from both sides flattens the face into a passport photo.
Your shortlist (0)
Shortlist the setups you want to try, then copy the list — each entry carries the angle, the steps and the window-light version to read on the shoot. Nothing is uploaded; it all runs on this page and never edits or relights a photo.
Portrait lighting setups, from Rembrandt to window light
Every classic portrait lighting pattern is really just geometry: where one light sits relative to the face. Rembrandt lighting is a light at 45° raised until a small triangle of light appears on the shadow cheek; butterfly lighting puts it high and straight-on for the old-Hollywood shadow under the nose; loop lighting sits at 35° for the gentle everyday look; split lighting swings to a full 90° for film-noir drama. Because each card’s diagram is drawn from the pattern’s actual angle, the picture can never disagree with the instructions.
Most lighting guides assume you own studio strobes. This explorer works the other way: filter by what you actually have — just a window, one household lamp, or a flash — and every card includes a “with just a window” translation, because the window versions of short and loop lighting are how painters lit faces for centuries before electricity existed.
Plan the whole shoot, then let the light do the work
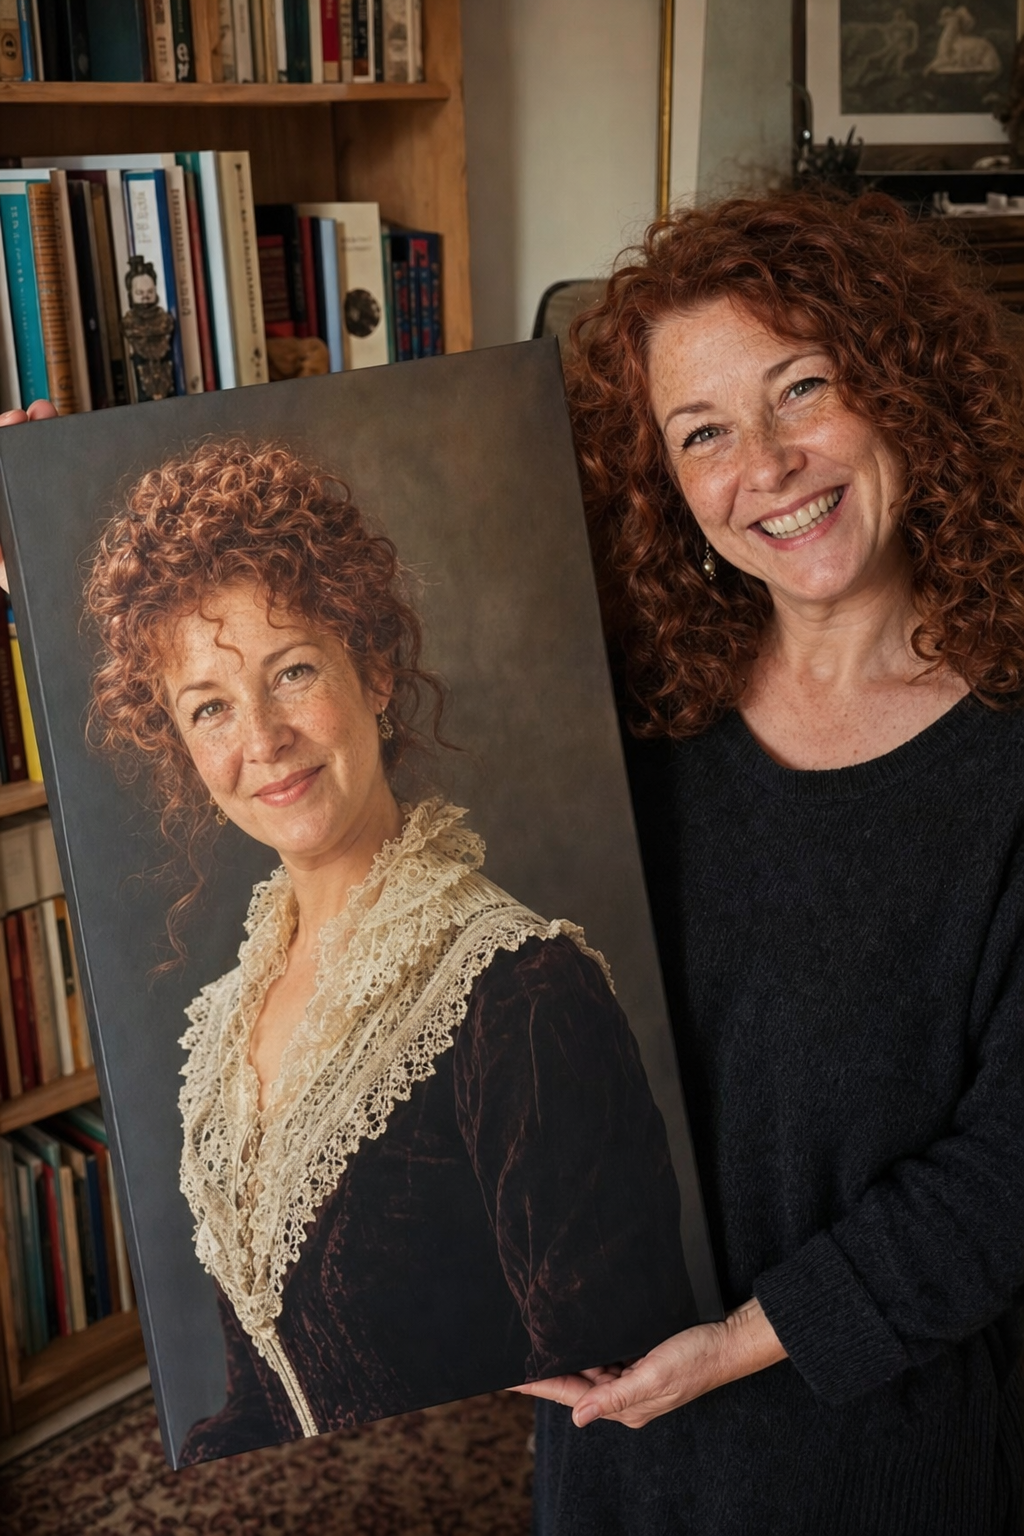
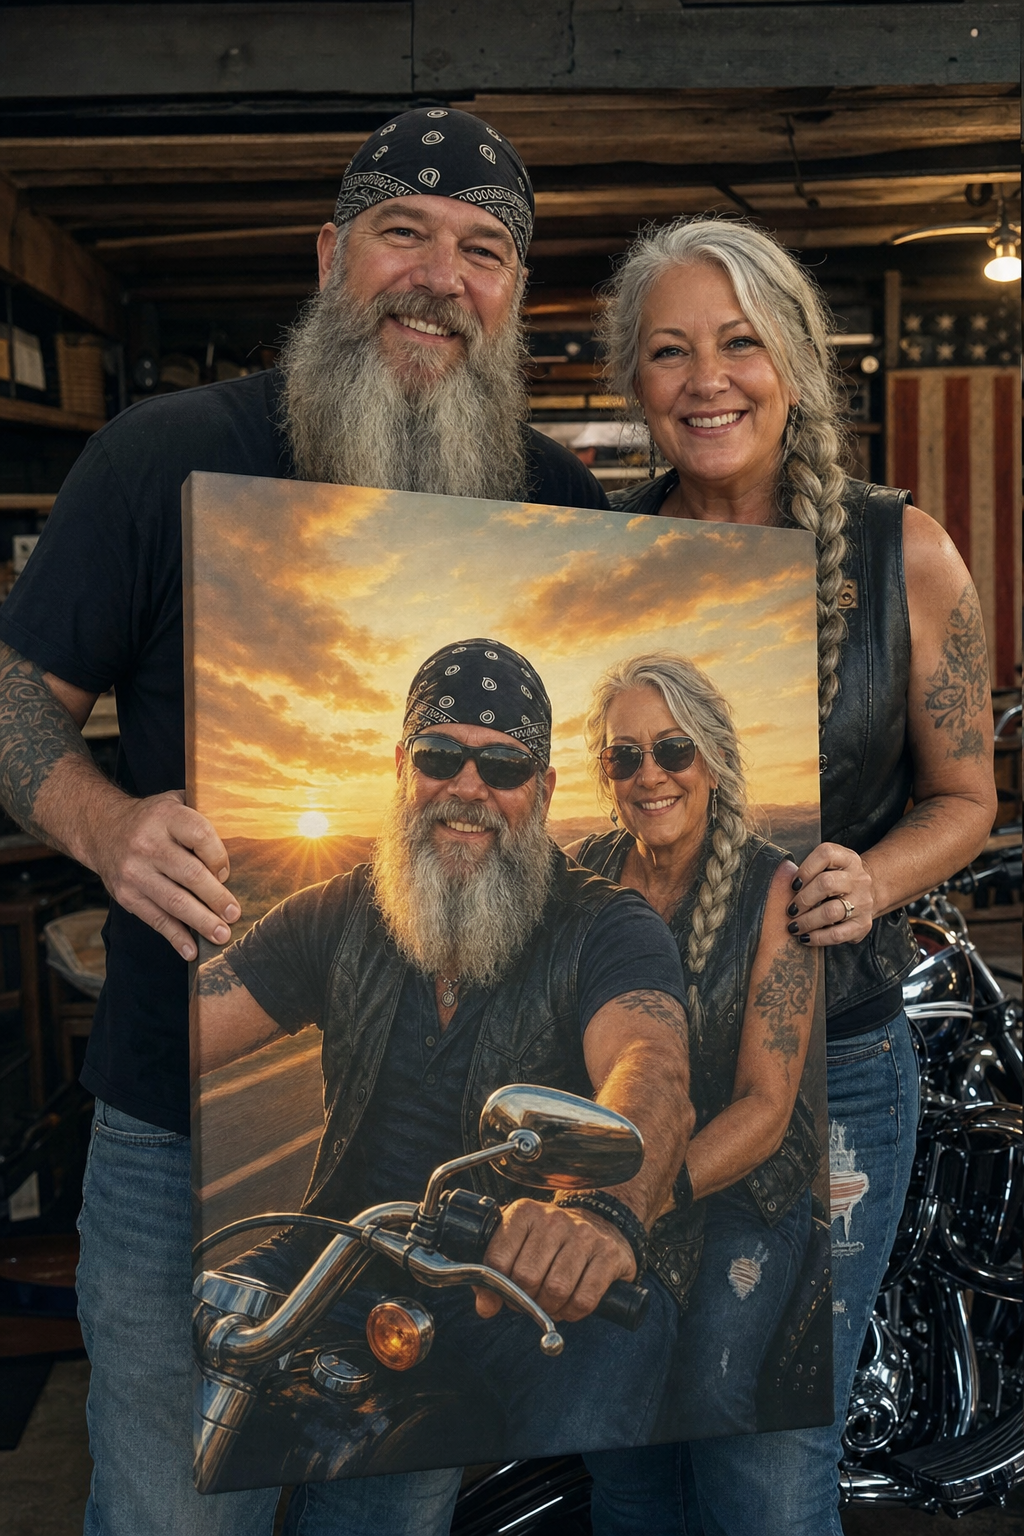
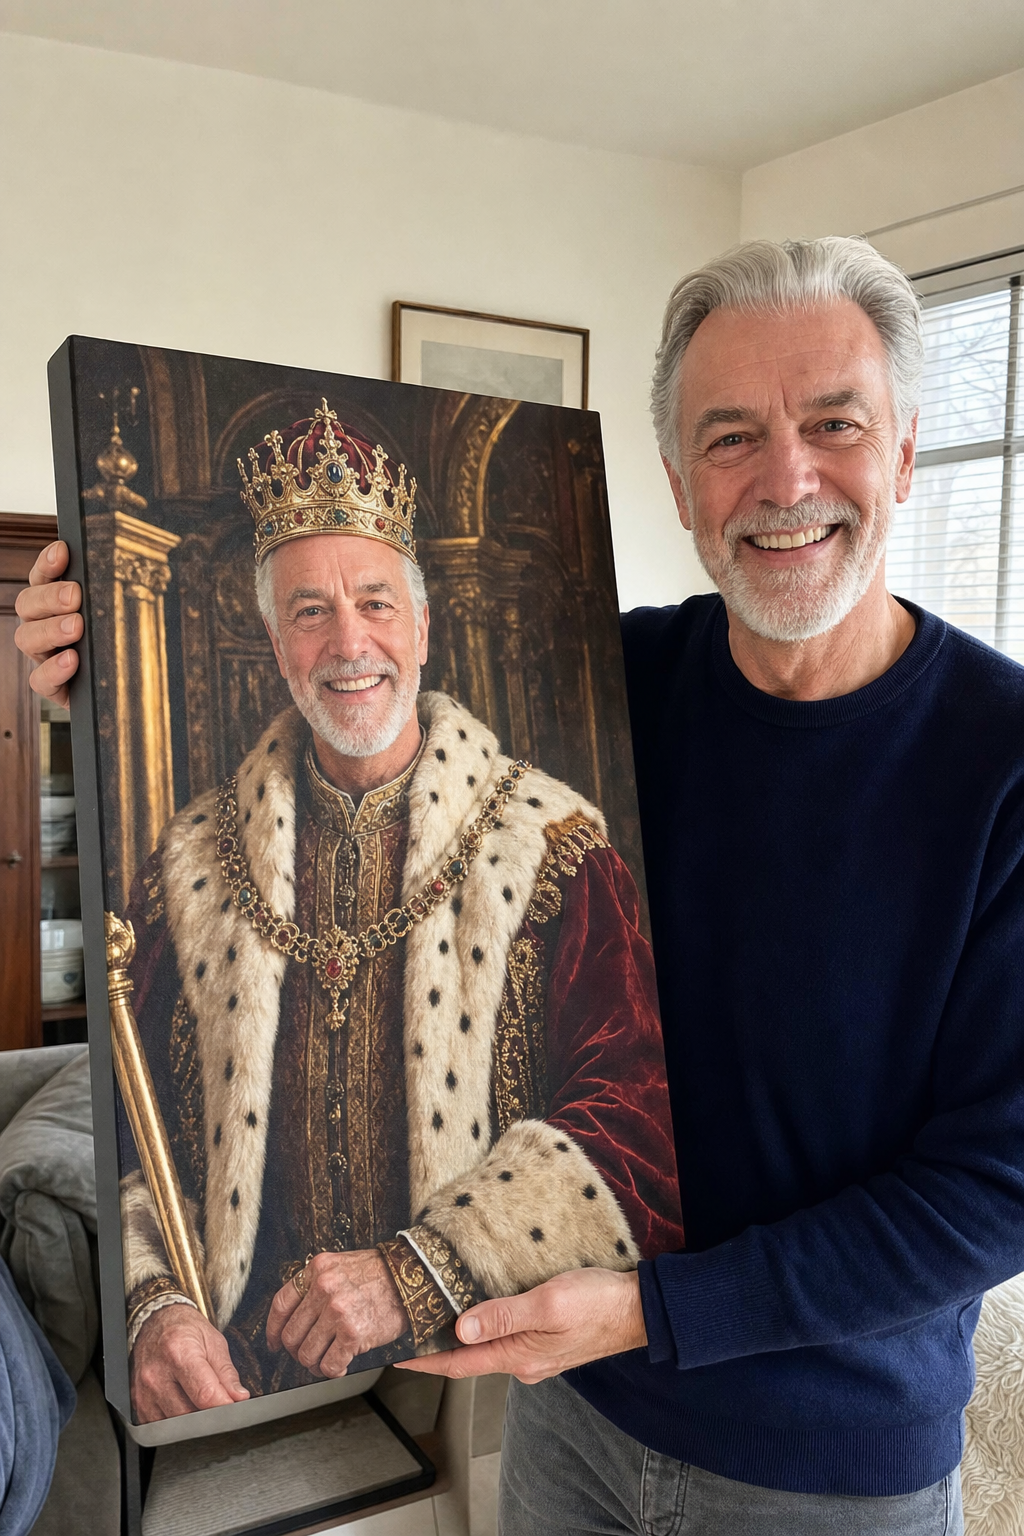
And to be clear about what this page is and isn’t: it’s a chooser and a teacher, not an editor. It never uploads, edits or “relights” a photo. If your favorite photo is already taken and the light in it is ordinary, that’s what a custom PortraitGift portrait is for — our artists repaint the whole scene, painterly lighting included, from the photo you already have. You see a free painted preview first and only pay if you print it.
How it works
Pick what light you have — just a window, one lamp, or a flash — and the mood you want; the deck filters instantly.
Read each pattern’s diagram, exact angle and setup steps, and shortlist the ones you want to try.
Copy your shortlist to use on the shoot — or skip the rigging and preview yourself in a painted portrait, free.
Frequently asked questions
What is Rembrandt lighting?
Rembrandt lighting is a classic portrait pattern made with one light placed about 45° to the side and raised above eye level, so the nose shadow joins the cheek shadow and leaves a small triangle of light on the darker cheek. It is named after the painter Rembrandt, who lit faces this way. The card on this page shows the exact geometry and how to get it from a window.
What is the easiest portrait lighting setup at home?
Soft window light: place your subject at about 40° to the biggest window in the house (out of direct sun), a step or two back from the glass. To make it instantly more flattering, use the short-lighting version — face the window and photograph the darker, room-side cheek. No equipment is needed for either.
Which portrait lighting pattern is most flattering?
Loop lighting is the safest all-rounder — a light at about 35°, slightly above eye level, gives gentle shape without hard shadows, which is why family and business portraits default to it. Short lighting flatters and slims most faces; butterfly and clamshell suit glamour looks; split and Rembrandt trade prettiness for drama.
Does this tool edit or relight my photo?
No — and we won’t pretend otherwise. There is no upload here at all: it’s a planning tool that shows you real setup diagrams before you shoot. If you want an existing photo to look dramatically lit, a custom PortraitGift portrait repaints the whole scene — painterly light included — as an artist-style re-creation, with a free preview before you pay anything.