Pick your pet and the shot you want — get the camera height, the light and the attention trick that actually work on animals. Runs in your browser, nothing uploaded.
Instant · runs in your browser
Plan your pet photoshoot
1. Who are you photographing?
2. What shot are you after?
18 shot recipes to explore
Camera
Get Down to Eye Level · the one rule that changes everything
Almost every phone photo of a pet is taken from human standing height, which makes even a big dog look like a small rug. Dropping the camera to the animal’s own eye line is the single biggest upgrade in pet photography: suddenly there is a face, an expression, and a subject rather than a floor.
How to shoot it: Kneel or lie flat so the lens is level with your pet’s eyes — for a cat or rabbit that usually means the floor. Frame with the eyes in the top third of the picture, tap the screen to focus on the near eye, and take several frames without moving.
Get their attention: Once you’re down there, stay quiet for ten seconds — most pets stop rubbernecking and settle into a natural pose the moment the human stops looming.
Avoid: Don’t shoot down at the pet from standing height unless the big-head-tiny-body look is the joke you want.
Camera
The Ground-Level Hero Shot · shoot up, instant drama
Going below the eye line and angling slightly up turns an ordinary pet into a monument: chests broaden, chins lift, and sky or clean wall replaces a cluttered floor as the backdrop. It is how movie posters photograph heroes, and it works exactly the same on a terrier.
How to shoot it: Put the phone upside-down on the ground (lens at the bottom edge, closest to the floor), tilt it up a few degrees, and call your pet toward you. Shoot bursts as they approach — the keeper is usually two strides before they reach the lens.
Get their attention: A second person holding a toy just above the camera keeps a dog’s line of sight grazing the lens instead of over it.
Avoid: Skip this angle for close-up face shots — from directly below, nostrils dominate. It’s a body-and-presence angle, not a portrait angle.
Attention
Treat Just Above the Lens · ears up, eyes locked
A dog’s ears and eyes follow food with total commitment. Holding a treat a hand-width above the lens points that commitment straight at the camera: ears pricked, head tilted, eyes bright and looking almost exactly into the glass — the engaged expression every good dog portrait has.
How to shoot it: Hold the phone at the dog’s eye level with one hand and pinch a smelly treat just above the lens with the other. Say their name once, shoot a quick burst the second the ears go up, then pay out the treat. Repeat three or four times at most.
Get their attention: Move the treat a few inches left or right between rounds for a head-tilt series — the tilt frames beautifully on canvas.
Avoid: Don’t tease for minutes without paying — dogs stop believing in the treat and the ears stop coming up. Pay early, pay often.
Attention
The One-Use Sound Rule · squeaks are a currency — spend wisely
A new noise — a squeak, a kissy sound, a crinkled wrapper — buys you one or two seconds of perfect, ears-forward alertness. The catch: it only works the first time or two. Every repeat is worth less, until the pet decides the noise is furniture.
How to shoot it: Frame and focus the shot completely first, finger on the shutter. Only then make the sound — once — and shoot a burst through the two seconds of full attention. Save a second, different sound for one more round later.
Get their attention: Phone apps that play squirrel or bird chirps count as new sounds; so does a squeaky toy your dog hasn’t seen this week.
Avoid: Never lead with the sound and then start framing — by the time the camera is up, the alert expression is gone and you’ve spent it.
Light
Window Light, Pet Edition · the no-gear pet studio
The same soft window light that flatters people flatters fur even more: it rakes gently across the coat so texture shows, puts a bright catchlight in the eyes, and animals will actually sit in it — a sunny windowsill or a bright patch of floor is somewhere pets choose to be.
How to shoot it: Wait for (or lure your pet onto) a bed, sofa or windowsill beside the biggest window in the house, out of harsh direct sun. Position yourself so the window is roughly 45° to your side, drop to eye level, focus on the near eye and shoot.
Get their attention: Cats especially: don’t move the cat to the light — move yourself to wherever the cat is already sunbathing. The shot lasts longer.
Avoid: Avoid shooting with the window directly behind the pet unless you want a silhouette — phones expose for the bright glass and the face goes dark.
Light
Expose for Dark Fur · the black-dog problem, solved
Black dogs and black cats defeat automatic phone cameras: the meter sees a dark mass, guesses wrong, and the result is either a detail-free shadow blob or a blown-out background. The fix is more soft light on the animal, plus telling the phone to expose for the fur.
How to shoot it: Photograph dark pets in your brightest soft light — outdoors in open shade or beside a big window. Tap to focus on the face, then drag the phone’s exposure slider up until you can see individual hairs, and let the background go bright.
Get their attention: A plain mid-tone background (grey wall, wooden floor, green grass) helps the meter enormously — avoid posing a black pet against white bedding.
Avoid: Don’t use the phone flash as the fix — straight-on flash flattens fur texture and often adds green or red eye-shine.
Camera
Burst Mode or It Didn’t Happen · take thirty, keep one
Nobody times a single shutter press to a sprinting dog — the winners come from volume. Burst mode takes ten frames a second; a five-second fetch run gives you fifty tries at the one frame with ears flying and all four paws off the ground.
How to shoot it: Crouch low, pre-frame the patch of ground your dog will cross, and hold the shutter down (or hold the volume button) as they run toward you. Review afterwards and keep the one frame in fifty where everything aligns.
Get their attention: Throw the ball past yourself, not away from you — dogs running toward the camera stay in focus and in frame far longer than dogs running away.
Avoid: Don’t chase the dog around with the camera hunting for focus — pick the spot, let the dog cross it, and let burst mode do the timing.
Camera
Tap-to-Focus on the Near Eye · sharp eyes forgive everything
A pet photo survives a blurry tail, soft ears, even motion in the paws — it does not survive soft eyes. Phones love to focus on the nearest thing, which on most muzzles is the nose, leaving the eyes just barely soft in a way you only notice later, printed large.
How to shoot it: Before every shot, tap the screen directly on the eye nearest the camera and let the focus square settle. For close-ups of long-muzzled dogs this matters most — nose-to-eye distance can be a hand-span, more than enough to throw the eyes out of focus.
Get their attention: If your phone has a portrait/depth mode, use it sparingly on pets — fake background blur often eats whiskers and ear edges. Real distance from a real background blurs better.
Avoid: Don’t trust autofocus to find the face on a dark or fluffy pet — it frequently locks onto the floor or a toy. Tap every time.
Comfort
Let the Cat Come to You · you photograph cats on their schedule
Dogs can be posed; cats can only be anticipated. The reliable cat photos happen where the cat already likes to be — the tower, the windowsill, the forbidden laundry pile — at the hours the cat is already calm. Your job is to be there first, at eye level, with the camera ready.
How to shoot it: Pick the perch your cat uses every day, note when they’re sleepy-calm (usually after eating), and settle nearby at perch height before they arrive. Stay boring. Shoot slow, quiet frames once they’ve loafed; the first stretch and the slow blink are the keepers.
Get their attention: A wand toy dragged slowly below the perch produces the intense hunting stare; a single kissy sound produces the wide-eyed face — spend it wisely.
Avoid: Don’t carry the cat to a photogenic spot — you get one resentful frame and an exit. The spot has to be theirs.
Comfort
Five-Minute Sessions · stop while it’s still a game
Pet patience is a short, honest resource. The first five minutes give you bright eyes and cooperation; everything after is stress signals — pinned ears, lick-lips, the slow lean toward the exit — which read clearly in photos even to people who can’t name them.
How to shoot it: Decide the one or two shots you want before you start. Work in five-minute rounds with real breaks — sniffing, play, a treat jackpot — and stop the whole session while your pet still thinks the camera is a game that pays.
Get their attention: End every round with an easy win and a payout, so the next session starts with a pet that volunteers.
Avoid: Don’t push through visible stress for one more frame — every forced minute makes the NEXT photoshoot harder, and the photos show it anyway.
Light
Golden-Hour Walkies · backlit fur is free magic
The hour after sunrise and before sunset puts the sun low enough to rim-light a dog’s coat — a glowing outline around ears and fur that midday sun can’t make. It’s also when parks are calm and dogs are due a walk anyway, so the shoot costs nothing.
How to shoot it: Time the evening walk so you’re somewhere open in the last hour of sun. Put the low sun behind or 45° beside your dog, drop to eye level, tap the face and nudge exposure up until the face reads clearly inside the glow.
Get their attention: Long grass, low walls and park benches at golden hour make natural seats — a sit-stay with a rim-lit outline is the classic autumn-portrait shot.
Avoid: Skip high-noon summer light: it puts hard black shadows in eye sockets and makes dogs squint just like people.
Light
Overcast Is a Giant Softbox · grey-sky days are portrait days
A fully overcast sky is one enormous diffused light: no squinting, no harsh shadows, and fur colours — especially reds, brindles and mixed coats — come out saturated and true. Photographers pay for softboxes that do what a grey Tuesday does free.
How to shoot it: On an overcast day, shoot anywhere open — no need to hunt shade. Get to eye level, keep the sky itself out of frame (it reads as blank white), and let the flat light do the work. This is the most forgiving outdoor light a beginner can use.
Get their attention: Overcast light is dimmer than it looks — hold the phone steady or brace your elbows on the ground for the eye-level shots.
Avoid: Don’t include big patches of white sky behind the pet; frame against grass, trees or walls instead.
Setting
Walk the Backdrop First · three steps beat any edit
The difference between a snapshot and a portrait is usually six feet behind the pet: bins, laundry, a radiator, someone’s legs. Animals can’t be asked to move two steps left — so the photographer moves instead, and at pet eye level even a small shift swaps the whole backdrop.
How to shoot it: Before calling your pet, look through the camera at the spot where they’ll be and walk a slow half-circle around it until the background is one calm thing — a hedge, a plain wall, a run of floor. Then bring the pet to the spot, not the camera to the pet.
Get their attention: Distance helps too: the further the background is behind the pet, the softer and calmer it renders. A pet six feet from a wall beats a pet against it.
Avoid: Don’t rely on cropping or blurring later — whiskers and fur edges make sloppy crops obvious. Fix it with your feet first.
Camera
Pre-Focus the Fetch Run · pick the spot, let them cross it
Continuous autofocus loses fast dogs; a locked focus on a known spot never does. Choose the patch of ground the run will cross, lock focus there, and the dog does the hard part by arriving in it — the technique behind almost every crisp mid-leap photo.
How to shoot it: Crouch low and tap-hold on the patch of grass where the action will happen until focus locks (AE/AF lock on most phones). Have a helper throw the toy so the dog crosses that exact patch, and burst-shoot as they enter it.
Get their attention: Mark the spot with a subtle target — a stick or a chalk line — so your helper aims the throw and you aim the lens at the same place.
Avoid: Don’t stand where the dog will swerve to avoid you; set up beside the run line, not on it.
Setting
Tabletop Studio for Small Pets · a blanket, a window, ten minutes
Rabbits, guinea pigs and other small pets photograph best in a controlled little world: a table by a window, a rumpled neutral blanket, and walls of cushions they can’t see past. At table height you can finally get a phone level with a guinea pig’s eyes without lying in the hay.
How to shoot it: Set a table beside a bright window, cover it with a plain blanket with real folds (texture reads beautifully), and build low cushion barriers on the far edges. Place the pet in the middle with a favourite snack, rest the phone ON the table facing them, and shoot while they eat.
Get their attention: A long, slow snack — a dandelion leaf, a hay strand — keeps a rabbit anchored and gives you chewing, whisker-forward frames for a full minute.
Avoid: Never leave a small pet unattended on a table, and keep one hand within a lunge of them the whole session. Safety outranks the shot.
Comfort
The Two-Person Team · one wrangles, one shoots
Solo pet photography means being cameraman, treat dispenser and recall target at once — and pets look at whichever of those is most interesting, usually not the lens. A second person collapses the problem: they hold the attention from directly behind the photographer, so every gaze lands a whisker from the lens.
How to shoot it: The photographer settles at eye level and does nothing but frame and shoot. The wrangler stands close behind the photographer’s head with the treats, sounds and toys, aiming all of it just above the camera. Agree hand signals so nobody talks over the pet’s attention.
Get their attention: For a pet-looking-into-the-lens shot, the wrangler holds the treat touching the top edge of the phone itself, then lifts it away just before the burst.
Avoid: Don’t let the wrangler drift sideways — a pet gazing off-frame at someone’s pocket reads as distracted, not soulful.
Camera
Paws, Whiskers & Details · the close-ups you’ll treasure
Years later, the photos people hold onto aren’t only faces — they’re the speckled paw pad, the one folded ear, the tail curl. Detail shots are also the easiest of all pet photos: the pet can be asleep, and sleeping pets hold still magnificently.
How to shoot it: Wait for deep sleep (twitchy dreams included), turn off the shutter sound and flash, and quietly photograph the details from a hand-span away: paws, nose, whiskers against light, the fur whorl on the chest. Natural window light, no interruptions.
Get their attention: Get one clean frame of the face in profile while they sleep too — profile references are gold if you ever commission a painted portrait.
Avoid: Skip macro attempts on an awake nose — you get one sniff-smeared lens and a retreating pet.
Setting
The Portrait-Ready Checklist · what a painted portrait needs from a photo
If the plan is to turn the photo into painted wall art, the requirements are simpler than people expect — and different from “pretty photo”: the artists and the AI pipeline need the face geometry, not the background, not the pose of the century.
How to shoot it: Check four things: camera at eye level; both eyes visible and sharp; soft, even light on the face (window or open shade); and the head filling roughly a third to a half of the frame. An ordinary phone photo that passes all four beats a stunning photo that fails one.
Get their attention: Shoot a burst of ten once everything lines up — reviewing later at leisure always finds one frame with the ears a notch higher.
Avoid: Avoid harsh side-shadows across the face and photos where one eye is hidden — those are the two failures that actually block a good painted result.
Your shortlist (0)
Shortlist the recipes you want to try, then copy the list — each entry carries the camera height, the steps and the attention trick to read on the shoot. Nothing is uploaded; it all runs on this page and never edits or retouches a photo.
Pet photography tips that respect how animals actually work
Most advice about how to take good pictures of your dog or cat is really people-photography advice with a pet pasted in. Animals play by different rules: they won’t hold a pose, they spend attention like currency (a squeaky toy works exactly once), and the single biggest upgrade — getting the camera down to their eye level — is the one thing standing humans never do. Every recipe in this planner is built around those realities, with a deterministic side-view diagram showing exactly where the camera goes relative to your pet’s eye line.
Filter by pet and by the shot you’re after — a calm posed photo, a mid-sprint action frame, a portrait-ready close-up — and shortlist the recipes you want to try. Each card is written to be read aloud mid-shoot: where the camera goes, how to get the ears up, and the one mistake that usually ruins the frame.
From a good pet photo to painted wall art
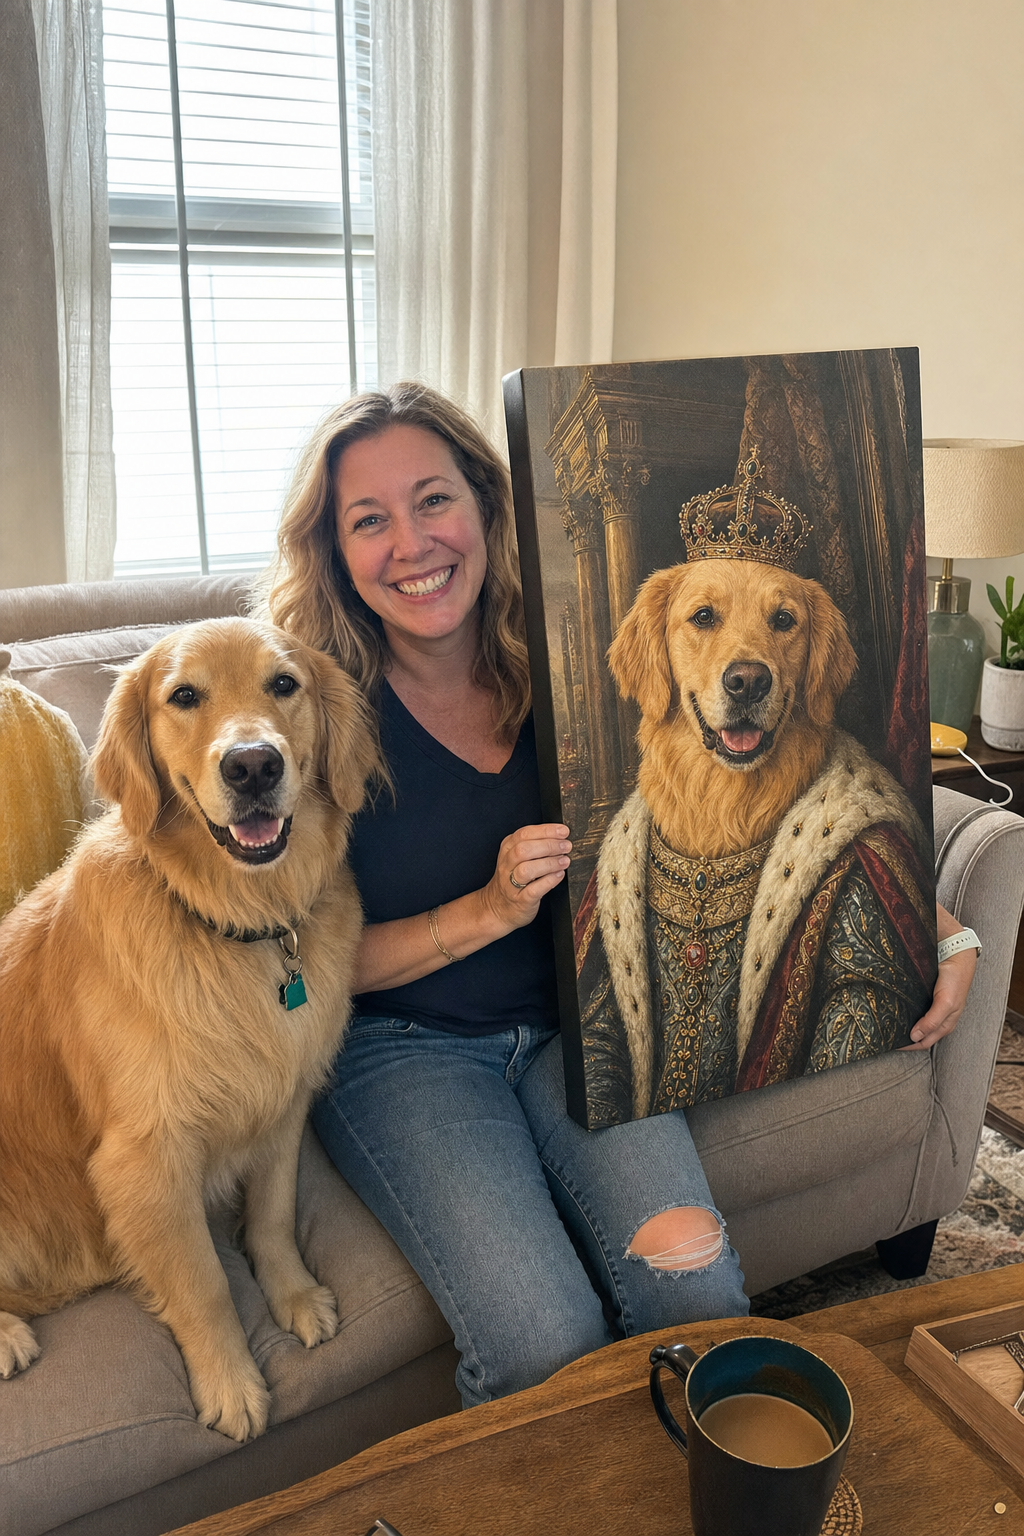
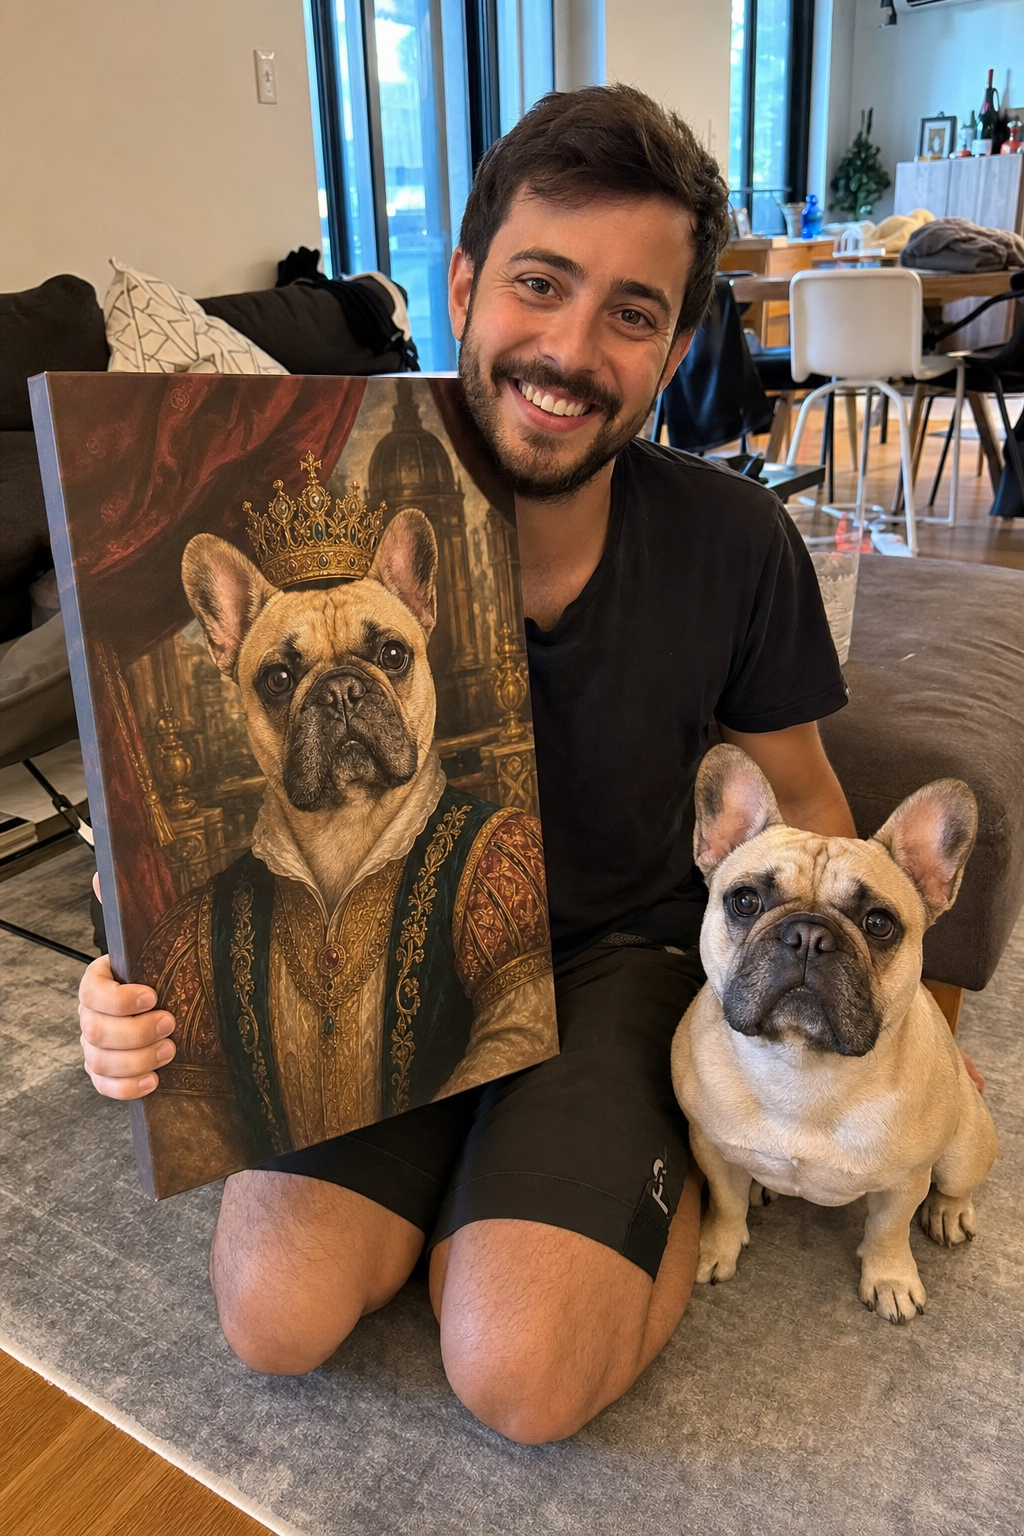
A photo that passes the portrait-ready checklist — eye level, sharp eyes, soft light, face filling half the frame — is precisely what turns into a great custom pet portrait. When you’ve caught the shot, the pet portrait generator gives you a free painted preview of it, from regal thrones to whimsical caricature; nothing here obliges you to.
Planning the rest of the shoot? The same suite covers the humans: the lighting explorer shows real setup diagrams, the background chooser handles the backdrop, and the canvas size calculator tells you how large a phone photo can print.
How it works
Pick who you’re photographing — dog, cat or small pet — and the shot you want.
Read the matching recipes: camera height (with a diagram), light, attention trick and what to avoid. Shortlist your favourites and copy them for the shoot.
Got the shot? Optionally preview it as a painted pet portrait, free — or just keep better photos of your best friend.
Frequently asked questions
How do I take good pictures of my dog?
Three changes fix most dog photos: get the camera down to the dog’s eye level instead of shooting from standing height, use soft natural light (a big window or open shade — never straight-on flash), and treat sounds as one-use currency: frame the shot first, make the new sound once, and shoot a burst through the two seconds of pricked-ears attention it buys.
How do I photograph a black dog or a black cat?
Give dark fur more light than feels necessary and tell the camera to expose for it: photograph beside your brightest window or in open shade, tap to focus on the face, then drag the exposure slider up until individual hairs are visible — letting the background go bright. A mid-tone backdrop (grey wall, wood floor, grass) helps the meter; avoid white bedding and skip the flash, which flattens fur texture.
What kind of photo works best for a custom pet portrait?
Simpler than you’d think: camera at the pet’s eye level, both eyes visible and sharp, soft even light on the face, and the head filling roughly a third to half of the frame. An ordinary phone photo that passes those four checks beats a spectacular photo that fails one — the background doesn’t matter at all, because the portrait repaints it entirely.
Does this tool edit, enhance or upload my pet photos?
No — and we won’t pretend otherwise. There is no upload here at all: it’s a planning tool that shows camera-height diagrams and technique recipes before you shoot, entirely in your browser. If you later want a photo turned into painted art, the pet portrait generator does that as a separate, explicit step with a free preview.